Sunday, January 15, 2012

How To Make A Paper Snowflake

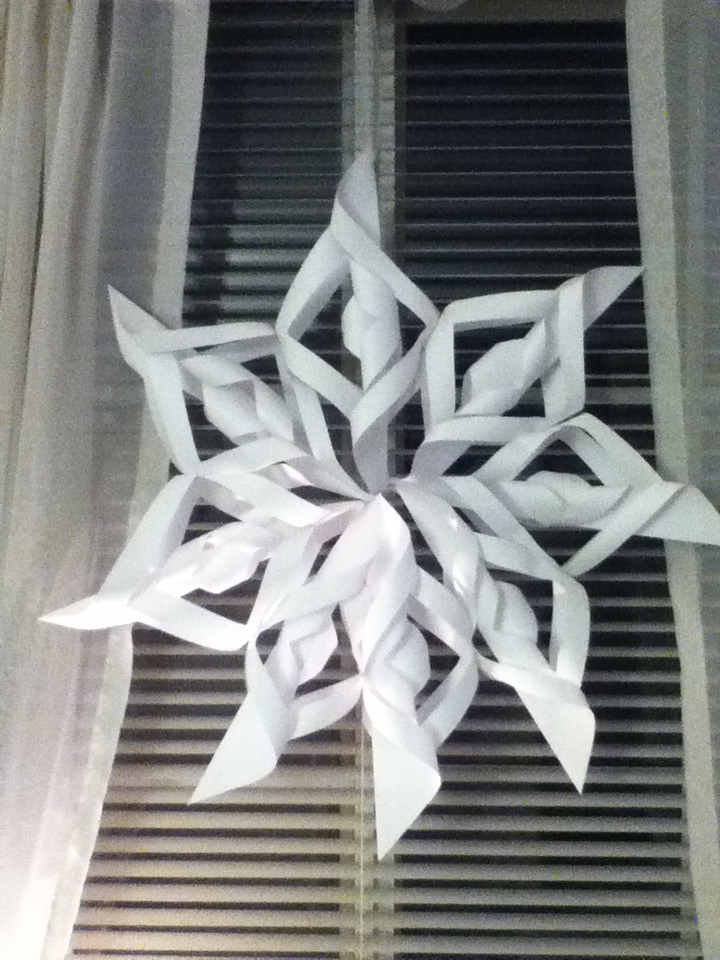
HI! When the winter comes I love making these winter (paper) snowflakes to hang around the house.  They are rather simple to make, and take about 16 minutes (on average) and I wanted to share with you how to create these beauties.  The end result is the picture right below, but I have broken down step by step, with pictures, the construction process of one of these bad boys. 

Supplies you are going to need: 
- 8  pieces of 11x8 1/2 paper (they can be any color, and I find computer paper is the easiest to manipulate)
-A pair of scissors
-Some scotch tape
-And finally, a stapler
1. Fold the paper to make a perfect square. This is done by simply folding over the the corner to the nearest edge. 


2. Cut off the excess strip of paper, after done will form a folded triangle
 3. Fold the paper in half again (this has been done two times now) and you will still have the shape of a triangle, but just a smaller one.  MAKE SURE the folded part is closest to your stomach or for all intent and purposes the bottom.  ALSO, the long triangle side (hypotenuse) should be on the right. This is the key to the whole thing, and I think the hardest part. 
 4.  This part might get a little tricky too, but I have faith. You are then going to cut from the 'bottom' going upwards keeping PARALLEL to the longest (hypotenuse) side of the triangle going RIGHT TO LEFT. You are going to 3 slits about 3/4 the length of the paper.  The very end of each slit should line up evenly. 
 5. After you cut the slits, it should look like this.  If it doesn't, just make sure the fold in on the bottom closest to you, and the longest side is on the right.  

 6. Next, you are going to fold over the 'smallest' slit to meet each other and then tape so if forms a circular shape like pictured above. 
 7. Then turn over the paper and you are going to do the same thing with the next slit, so that the slits that are being taped are making an 'every other' pattern. 
8. This is what it will look like when you alternate each way and tape the slits together. 

 9. For this next one you will obviously need another piece of paper to attach to the other, so please repeat steps 1-8, and come right back here to hang out and continue. 
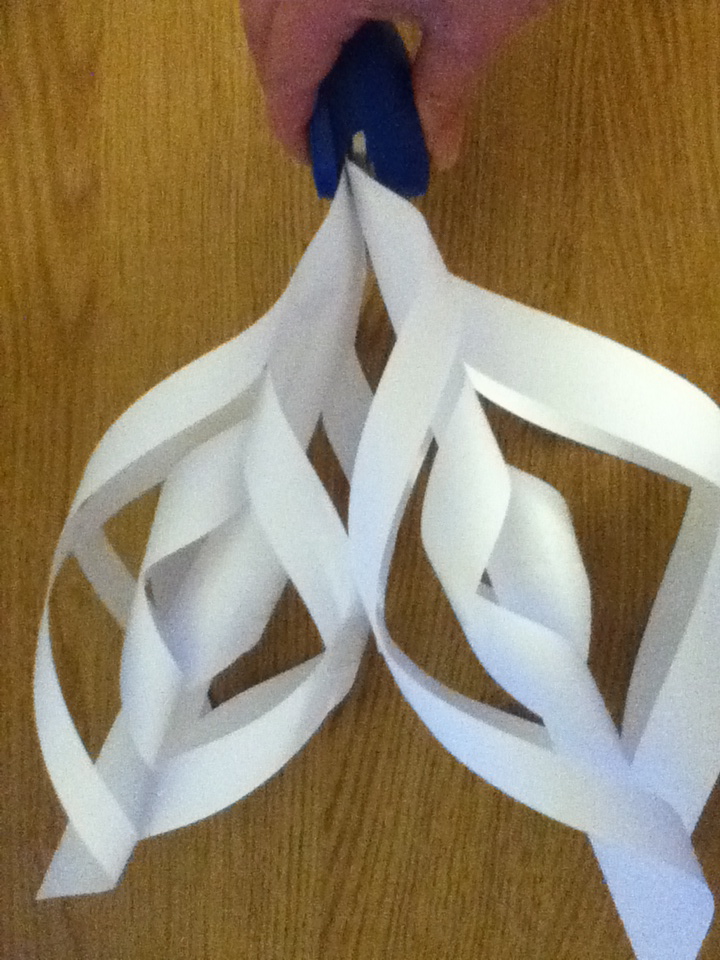
        ***You are then going to take the tip of each 'piece of the snowflake' and STAPLE them together like pictured. 

 10. After the tips are stapled, you are going to STAPLE the edges that meet so when the are all connected, they will stay securely together.  Refer to picture if this is a little confusing. 

11. You are going to continue making serveral of these pieces of the snowflake and then staple them together at the tip, and then where each edge meets. As you add more pieces of paper it gets a little more tricker to staple, so just watch out for your fingers!

This is the finished product! You did it! I punched a hole in the top, added some string and now they are the winter window decor for the windows.  A small side note- they also sell the kits to make these at Paper Source, and you just got the inside information from this nifty blog. Enjoy!

Monday, January 9, 2012

Rapunzel, Rapunzel Let Down Your Long Hair

Is that... is that hair gel? 

I have been growing my hair out for a while now in hopes that one day I will be able to donate it.  My hair grows very very slowly, it's thick, and has been it's natural color for many a years.  In the meantime I have needed to try to maintain this hair, and achieve perfect moisturizing so someone hopefully one day will be able to wear it.  I absolutely hate brushing my hair, and mainly because it's dry and that equals tangles.  Now, to help my hair balance out I only shampoo or condition it about once or twice a week with Tigi products, and for the other days I use a vinegar/water homemade mixture.  I was hesitant to do this at first, but with the guidance and experience of another I took the plunge and made my own mixture.  This was also one of the many things vinegar could be used for in the giant list I previously blogged about, and I always want to practice what I preach. 

I made my shampoo ratio which consisted of 1 tablespoon of Apple Cider Vinegar to 1 cup of water, and I put it is a little squirt bottle that I purchased at Ikea for $.99.  When I use it I don't really put it on the roots of my hair, but the body I really let the mixture bask in it.  I also apply it to my already wet hair.  This has helped in general with the tangles, and I also started using a comb instead of a brush.  Brushes apparently break up the hair and really damage it, especially when used when the hair is wet.  Your welcome boys for that tid bit of information.  Combing it is also recommended when preparing to donate your hair.  Below are two sites for donating hair:


Pantene Beautiful Lengths
Wigs for Kids

I am hesitant to send it to the very popular organization called Locks of Love because they have been published for not always making good use of the hair, and/or making a profit on their donations. Here is an article explaining in further detail.

I hope that if you were considering donating your hair this has helped, and for the others who are male (although they can definitely donate too!) or if you just have absolutely no interest, it's knowledge to pass onto others.

Thanks for reading, as always.

Wednesday, January 4, 2012

Feliz Anno

Happy New Year to all, safe and happy wishes for the upcoming year!

The holidays have come and gone and I have been doing some reading, researching, experimenting, and received some new gadgets that I am excited about.  First and foremost being the worm compost (in terms of juicy info for this blog.) I didn't like throwing away all those carrot shaving, rotten cheese, avocado pits, etc. etc., and now they have some place to go other then the garbage. Among those items, you can also shred up newspaper, egg cartons, kleenex, and the list just goes on and on.  As of right now it has been assembled, but no bedding or food or worms have been added, so as the process goes along I will update for those of you who are interested.  This is what it looks like.

With my worm compost I was also given an "instructional" book to go along with it and I found some interesting information that was just about recycling in general.  Our current industrial society, overall, treats waste as it is something to be thrown away, to get rid of, or to simply dispose of.  This is where we need to change our thinking about the way we consider waste to simply be waste.  It needs to be something that can be used as a resource, and/or if there is some other purpose that is can be used, try to get it to that person or place to be put to good use.  The capital of Australia, Canberra,  is the world's first communities to establish the goal, 'No waste by 2010."  They worked their butts off to try to get there, and are still working at it today quite successfully.  Worm bins, or composts could contribute significantly to reducing the amount of waste that goes and sits in a landfills.  When food and paper products cannot be composted then we go to recycling. Some argue that this is then taking resources to actually do the physical recycling (energy, water), but the cost to build a recycling processing facility is much less then the capital investment required for an incinerator or landfill. Also, it takes about 6% of the energy to recycle an aluminum pop can then to produce an entire new one. 

A few recycling side notes- **When you are recycling glass jars with labels, you do not need to remove them because the paper burns away when the glass is re-melted.  Also, for plastic containers should be rinsed and lids removed.  Lids are made from a different type of plastic, and contaminate the lot when present.  You can check the lids and see if they have a triangle on it to be recycled, but otherwise just discard.  Metal lids can cause the recycling equipment to jam because of it size, but most plants/programs will accept them.  

A cool  Article Relating to this. 

Thanks for stopping by and starting off the new year reading the blog.